Well, today was a bit of a bust photo booth wise. I tried something new for the 5th day straight. I was still shooting through the top lens and I had it on motion activated photo setting with 10 photos per second burst. But, today, I hung it from our main pole feeder. I just didn’t see as many birds around the feeders today generally, but it was also a nice day.
Today’s Bird Photo Booth problems:
- Hanging feeder cam + wind + motion activation = Not Ideal – Filled the SD card with a bunch of photos of nothing.
- Background – Hanging from the pole feeder meant that there were buildings in the background at times and I didn’t like that as much. I like it better when it points back towards our woods.
- Lack of bird action – Possibly because it was moving and/or off kilter, there just weren’t many birds that visited it today. I thought by moving it closer to the area where my bigger birds (cardinals, Jays, Hairy woodpecker, Red bellied woodpecker, grackles, etc.) hang out that I’d catch some of those on the cam. But it just kept them away or force them more onto the main platform feeder.
- Field of View included the ground because it drooped – This meant lots of pics from my dog walking around or squirrels or birds feeding on the ground. Those weren’t good pictures of them, but that is the motion that triggered the photo sequence.
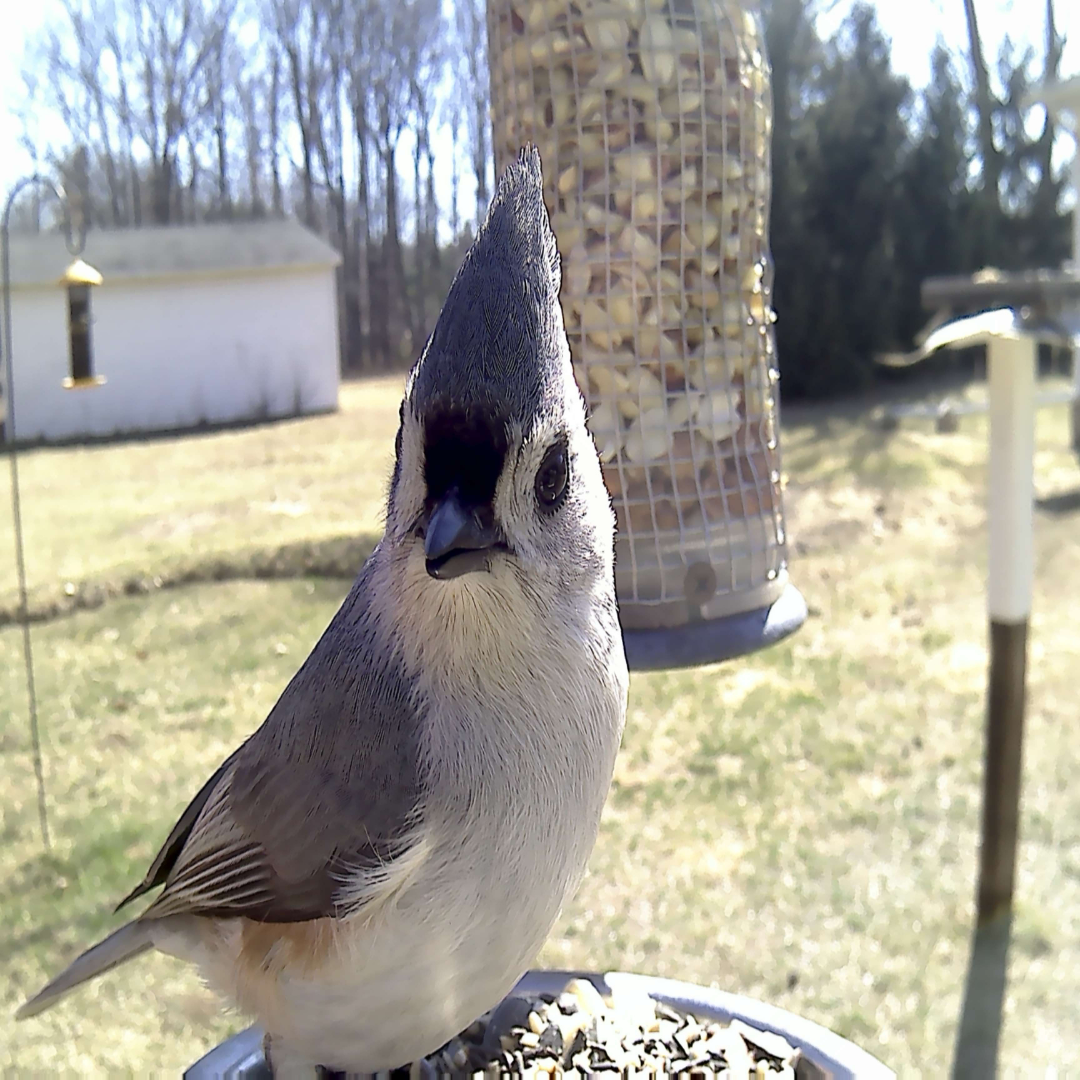
I got 3,493 photos today and of those 29 had an actual bird on the feeder bowl. Of those 29, there were only a couple that were decent, and they were all of birds I’d photographed on other days with the photo booth. I can tell that we need a larger platform area to get a bigger variety of birds. I wouldn’t have saved any of these pics because of the background, but I want to document something from every day with the photo booth for a while and so I did a bit of photoshop work. I’m kind of into the digital collage concept right now and so I’ve been playing with isolating animals from my photos and applying them to a different background. In this case, I removed the background from 3 of my favorite titmouse pictures and made a quote graphic. See the original photos below and then my quote graphic below.
The original titmouse photos


I was able to create something that I like even from a bummer of a session. Tomorrow, I’m going to start playing around with shooting through the lower lens and see how that works. I’ll work on a better background tomorrow and see what we can do to lure in a bigger variety of birds. I want to get the blue jays and cardinals, but they just don’t like the small feeder bowl.
If you want to get emails when I make new posts, use the sign-up form below.
Stay Up To Date
Subscribe and Receive an email when new stories and pictures are posted.
Helpful Products for Setting Up Bird Photo Booth
When I purchased the Bird Photo Booth 2.0 in March of 2021, I also purchased the tripod and battery pack from the direct website where the photo booth is sold. It turned out that those were just marked up and shipped directly from Amazon. The tripod listed here is the exact one being sold by Bird Photo Booth. I could not find that exact battery pack any longer on Amazon. I have this Anker one listed and while it is slightly larger, I still fit it into the booth and I can set it up at night and leave it in overnight and throughout the next day without any issues. The Perky Pet Hummer Bar here is the same one as on the bird photo booth site.
You do not have to click these links to purchase, but if you do, please be aware that these are affiliate links and if you make a purchase after clicking through, a small portion of your sale goes to help fund this website. You will be getting a better deal on these accessories than if you buy them at bird photo booth website. The other items are all items we have used in our setup here to attach the camera to our T-Posts protect them from squirrels. You will need a micro SD card to effectively use the Bird Photo Booth.


