Steve found an article online with close detailed photos of feeder birds and the lady in the article was asked how she got those photos, and she shared her setup called a Bird Photo Booth 2.0. It is commercially available everywhere. It has poor reviews and so I was hesitant. But I joined a Facebook User Group for the product and saw people were successful. It just takes a bit of modification and a learning curve. There was a deep discount available on the unit and hey, economic stimulus, right? So, we pulled the trigger.
Pros and Cons
I read and heavily researched the pros and cons of the setup. Cons include: The battery life, the tiny controls on the tiny camera. It comes in a waterproof case which you neither need nor can use with the trail cam style box it also comes with. Many people reported difficulty in getting the pictures transferred from the camera to their computer. The Wi-Fi option sucks and is useless. I decided I could deal with all those things for the price point.
The pros are the quality camera with motion detection and burst mode (10 photos per second) and the macro lens perfectly suited for about 6-9″ of distance from the camera. Good for feeder bird photos. We had considered other trail cam options, but they are designed for a wider view and less focused on something small that close to the camera.

I ended up buying the bundle with the camera, macro lens trail cam box, tripod, and extra battery pack. My recommendation: skip the tripod and the extra battery pack and just buy those on Amazon. They sent both from Amazon using “gift shipping”. They just resold, marking them up, they are nothing special. The battery pack is good, it has a readout on it showing how much battery is available. It’s the right size for the photo booth, but so are most other backup battery packs. The tripod they sent has adjustments for tilt and a built-in level to get it level, but it just feels cheap. The first squirrel who tries to climb on it is going to take the whole thing down. We plan to figure out a better mounting for it with a baffle and a larger platform for a bigger variety of birds. The tripod will be useful in some other contexts with my regular camera, so we aren’t returning but it was sort of a rip-off for those two items.
Note that the bundle doesn’t include a micro-SD card which is required (why don’t they resell that through Amazon? Who knows!)? So, make sure to buy a Micro SD card, I recommend two so you can swap out if you want. You are going to want a card reader for your computer. One of the cons is the format used and how to get your pictures off the camera, but if you get a card reader, you’ll have no troubles. Here’s the micro-SD card and card reader I purchased (note these are affiliate links). If I find a better tripod, I’ll share that as well.
Day One – Placing the Photo Booth
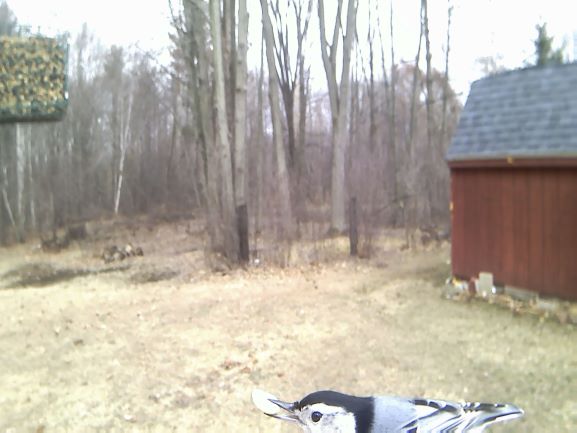
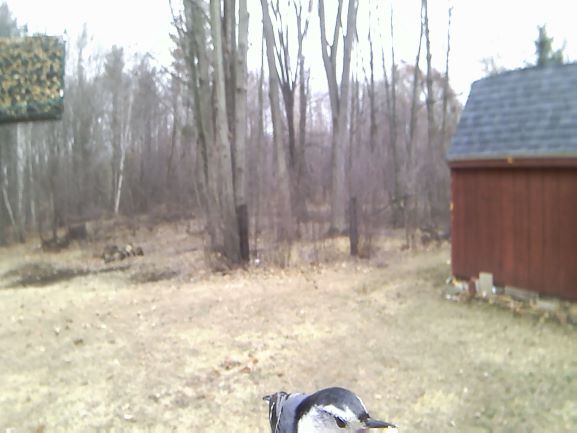
I used the tips in the Facebook user group to get myself setup. But I missed one key part. I had my feeder bowl way too low, so I only got pictures of little bird heads! I did increase the exposure to +3 as was recommended for overcast days in the northern part of the country. We then set the tripod out for about 5 hours.

This is my very first photo of a bird from the Bird Photo Booth. I want to share this so hopefully as I get better with it later, we can contrast!

At least in his second picture he was looking at the camera!
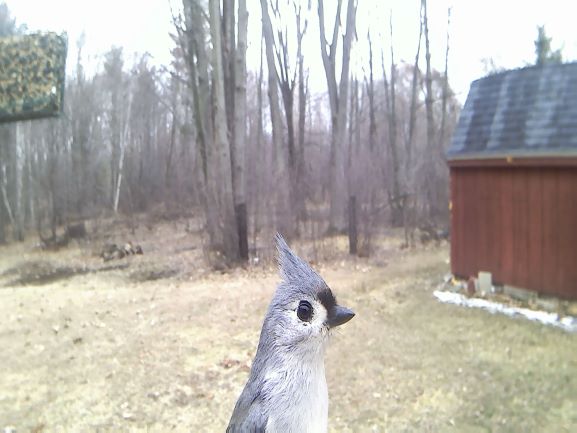
In addition to the Black Capped Chickadee, we had a few other visitors. Here’s a gallery of our other shots with our initial setup.
You can see above, White Breasted Nuthatch, Tufted Titmouse and Downy Woodpecker.
Improving
We made some adjustments and moved the bowl up a bit higher so we can get the entire bird bodies in the frame. That will improve our shots, I think.
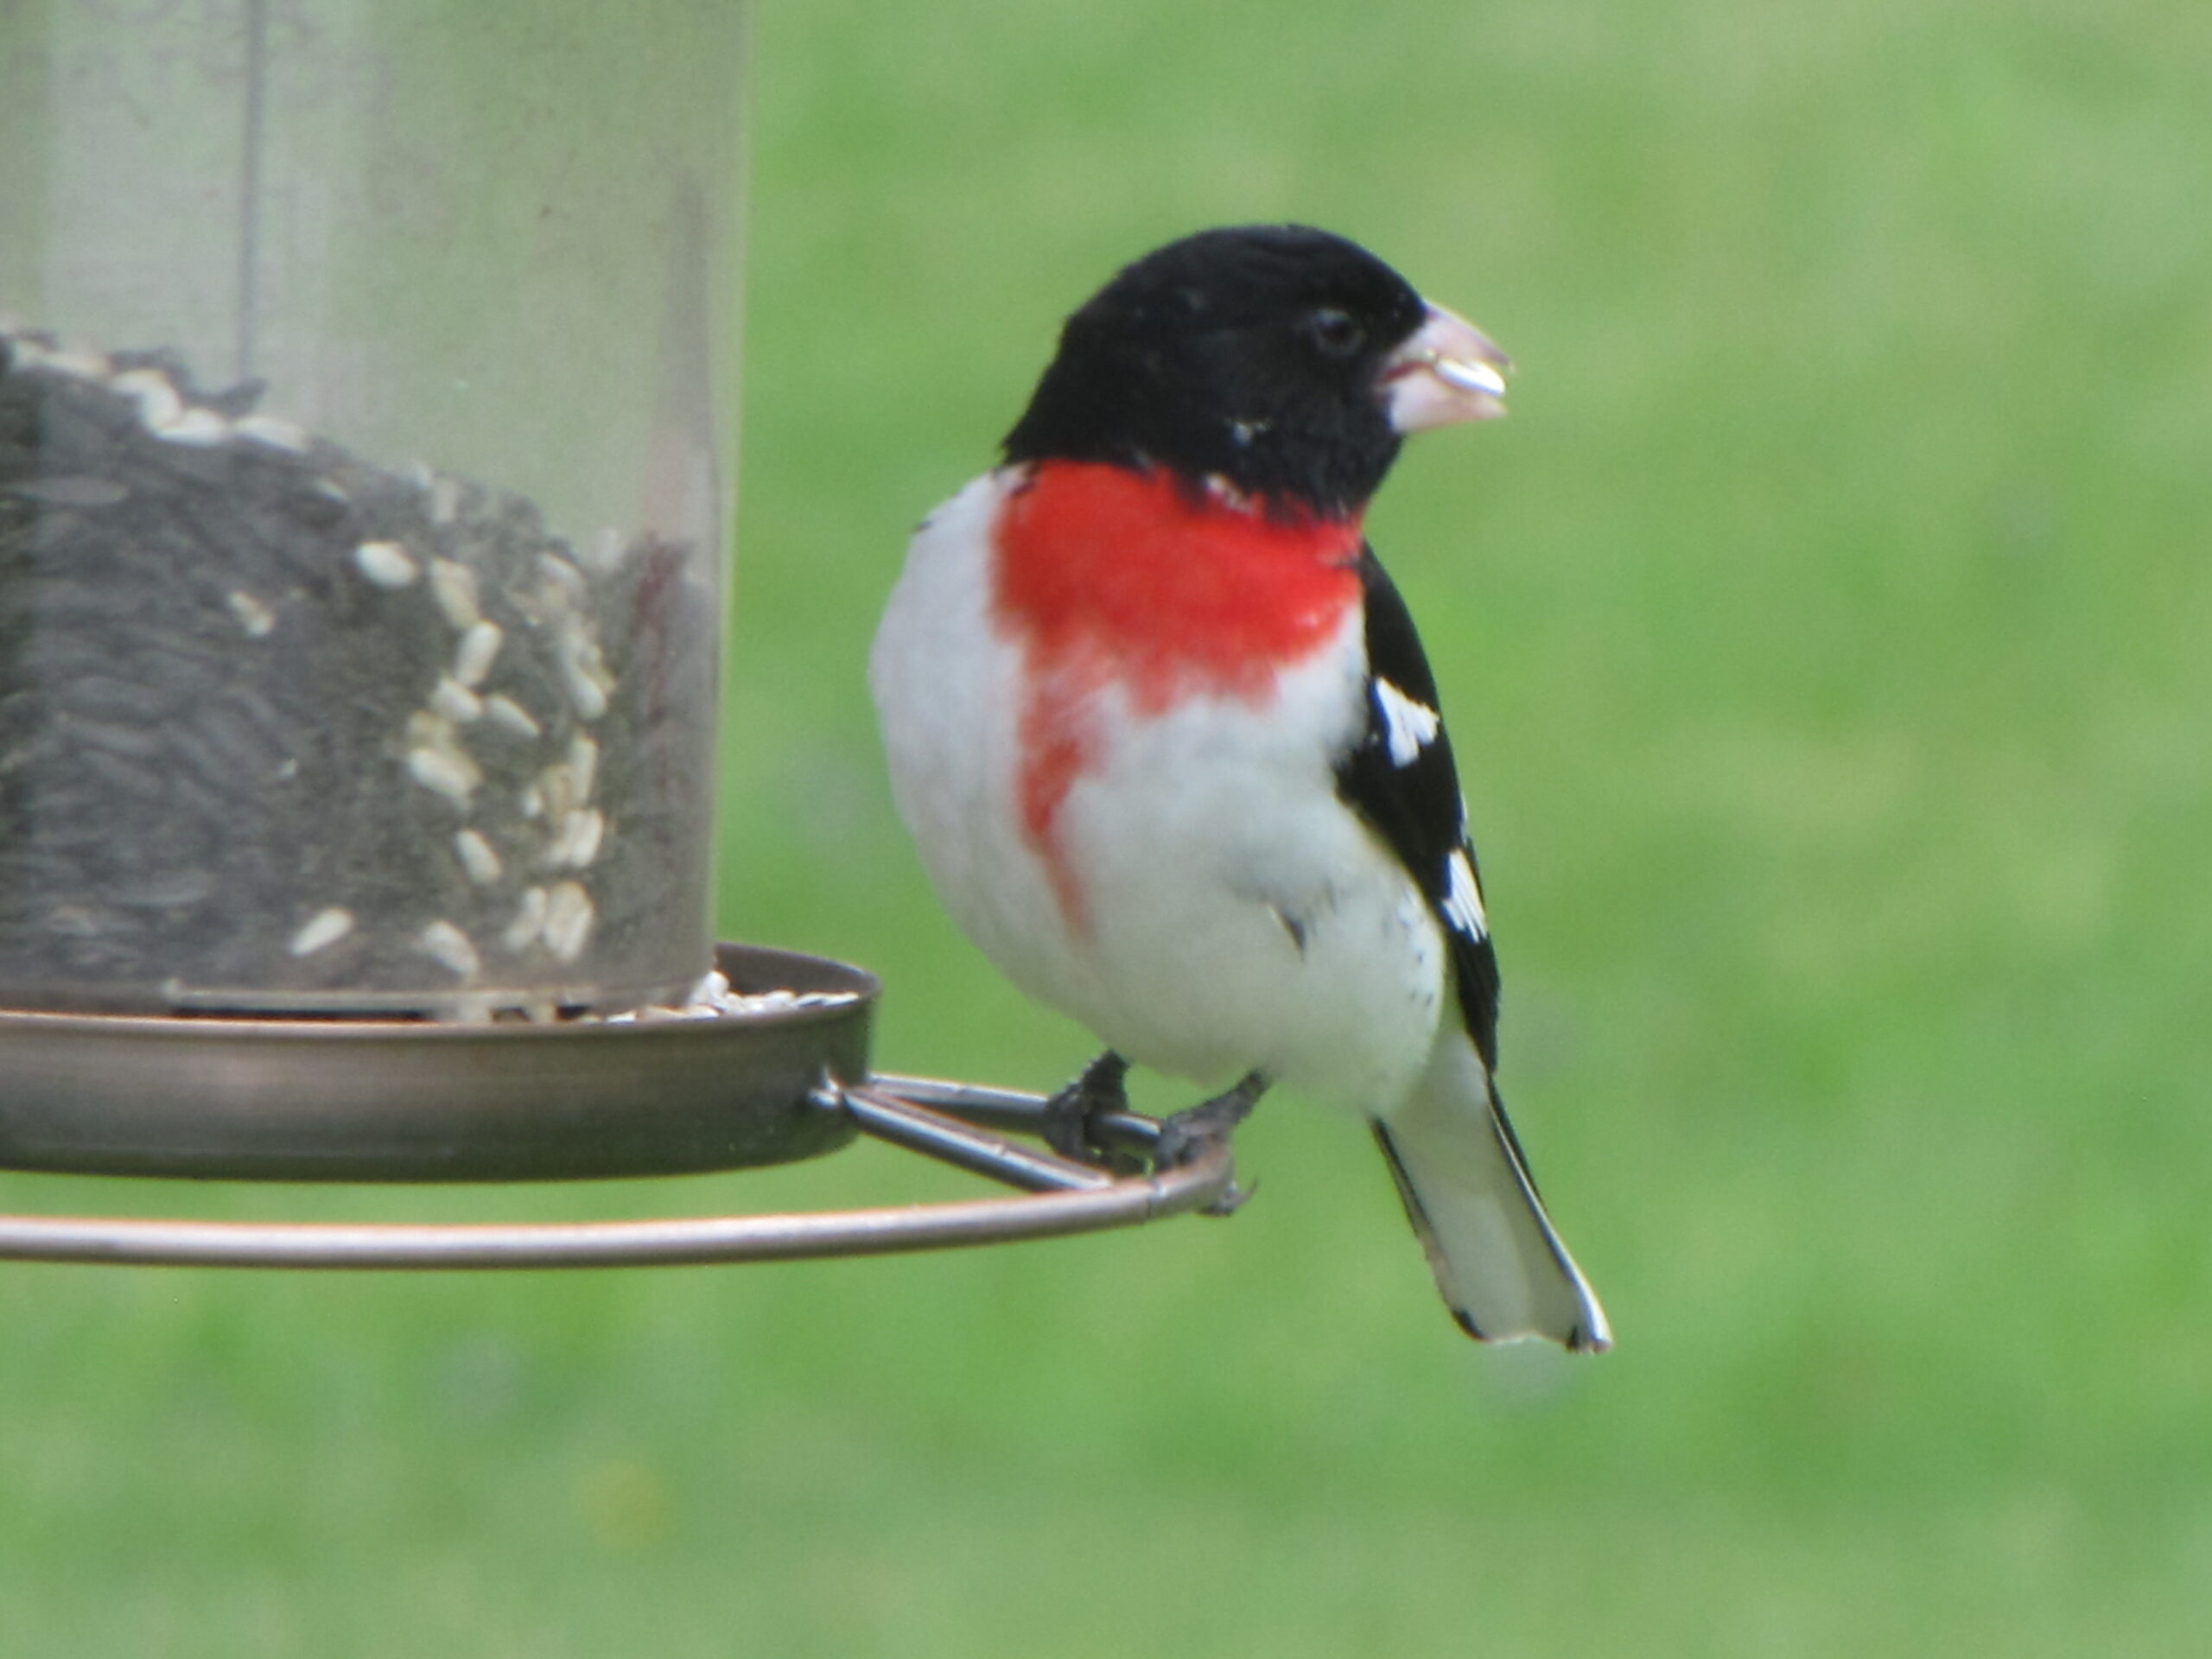
Here’s the next group of shots. We had the tripod out for a few hours this time as well. We got pretty much the same visitors, our bravest most regular friends, but no Downy woodpecker.
Overall, not bad for our first day with this new setup! I’m excited to see what other birds we can get a close-up view of!
